


By: Arif Khan.
Introduction:
Today we are talking about well-equipped and powerful open source Database management GUI tool that is PgAdmin. It is actually designed to meet the requirements of both experienced and new Postgresql users, the Database related tasks like DB creation, modification and maintenance are very much simple and easy with this tool. Let’s see how to install and configure it with Ubuntu 20.04 to manage Postgresql Database.
Why installing manually?
PgAdmin not comes with Ubuntu that is why we need to add its repository in Ubuntu if required, then we will be able to install it in Ubuntu.
Adding repository:
curl https://www.pgadmin.org/static/packages_pgadmin_org.pub | sudo apt-key addSometime Ubuntu raise an error in very next line after execution of above command as below.

Solution:
Below command will install curl in Ubuntu.
sudo snap install curl
Now you can issue PgAdmin repository command again. It will add the PgAdmin repository in Ubuntu.

Installation:
Now execute below command to install PgAdmin in Ubuntu as seen in image, this command will do three operations for you.
- Installation of PgAdmin (sudo sh -c ‘echo “deb https://ftp.postgresql.org/pub/pgadmin/pgadmin4/apt/$(lsb_release -cs))
- To said location or Path (/etc/apt/sources.list.d/pgadmin4.list)
- Update installed package. (apt update)

Copy below full command and execute it in Ubuntu terminal.
sudo sh -c 'echo "deb https://ftp.postgresql.org/pub/pgadmin/pgadmin4/apt/$(lsb_release -cs) pgadmin4 main" > /etc/apt/sources.list.d/pgadmin4.list && apt update'we are ready now to install PgAdmin. PgAdmin comes in two modes (Desktop and Web) you can install either of them or you can install both of them using commands as below. 1. sudo apt install pgadmin4-desktop (for desktop mode only) 2. sudo apt install pgadmin4-web (for web mode only) 3. sudo apt install pgadmin4 (for both modes) we use this command.
sudo apt install pgadmin4
Press ‘y’ or ‘Y’ to continue with installation, the installation time depends on the speed of your internet, it won’t take too much time to finish installation.
After installation is finished, you can run the PgAdmin in either modes (web/desktop) although you just feel the difference in both modes in only at login page, one more thing to remember that both modes execute in a separate instance that is why whatever your setting are in one mode does not reflect in other mode.
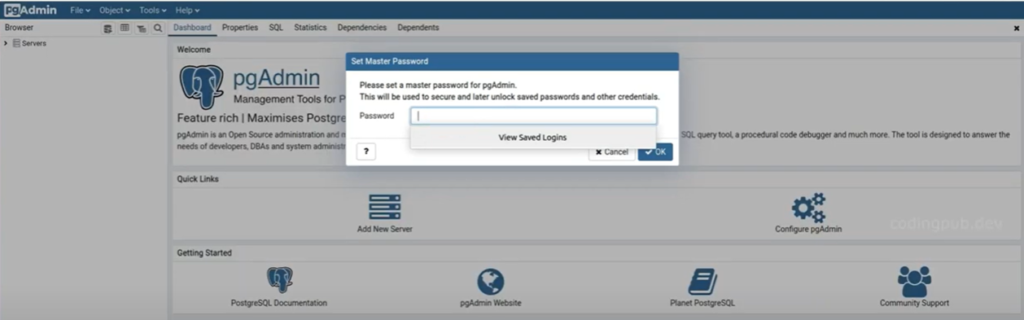
To start PgAdmin in desktop mode to terminal search for PgAdmin and click on its icon. It will take some time to start for the first time, then it will ask you for setting up its password. Here you have to setup its password.
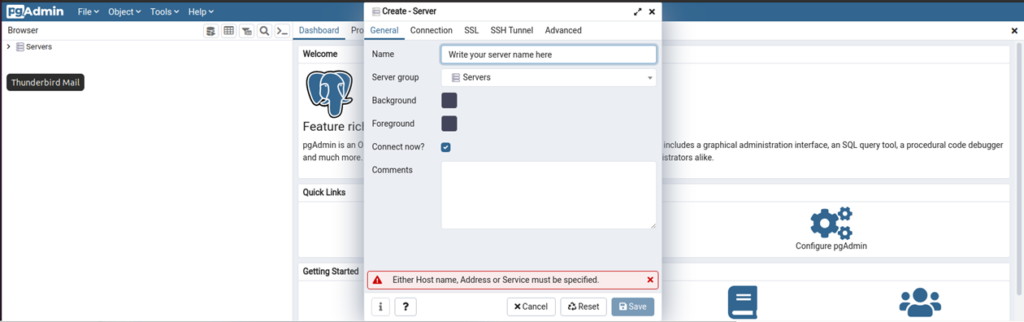
Then you need to add new server by clicking Add New Server button. Let’s see the image blow.
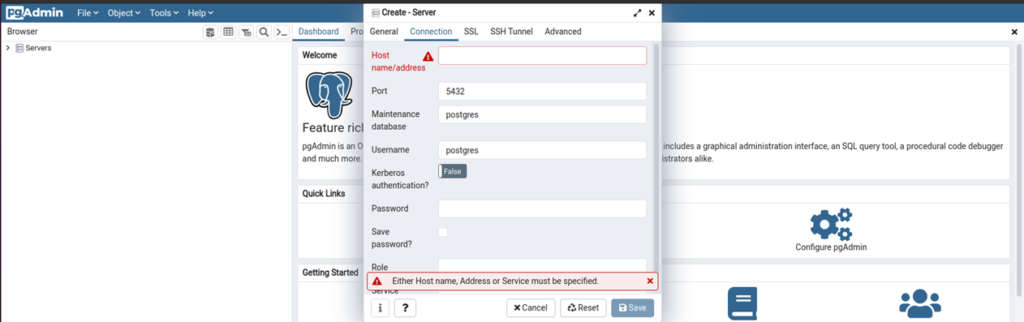
Go into connection tag and write your settings there.
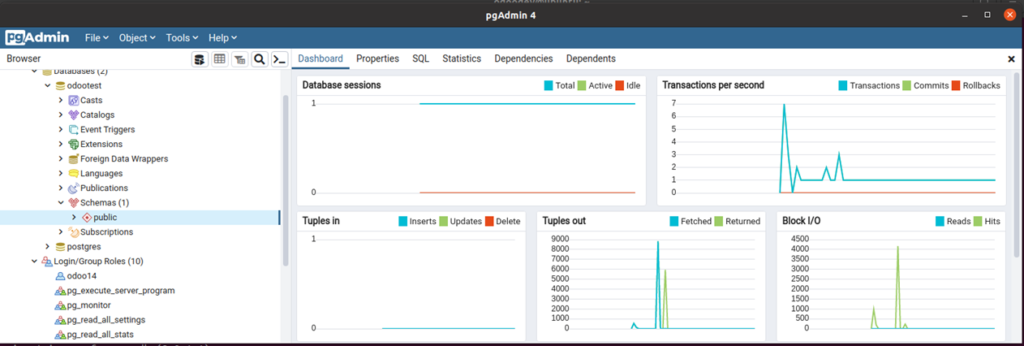
After successful connection you will be able to see the databases and their objects in the Browser navigator on the left side.
Web mode configuration:
If you want to connect PgAdmin on web mode, then you have to configure it first. To configure it on web mode issue below commands as shown below.
sudo /usr/pgadmin4/bin/setup-web.sh
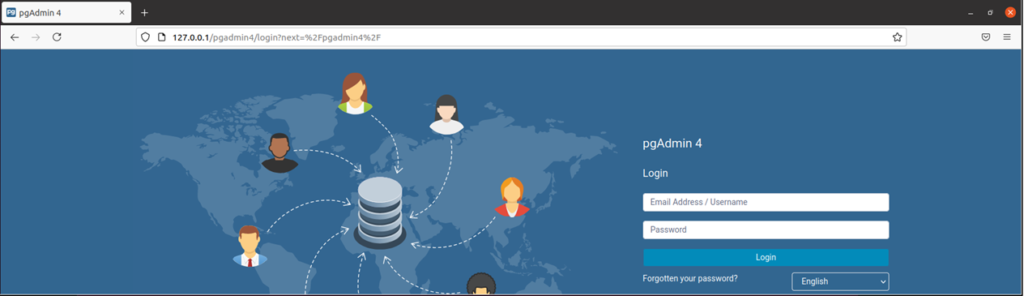
Now PgAdmin is running in Apache, to access the PgAdmin, at the browser address bar type http://127.0.0.1/pgadmin4. You will the login screen as below. Enter the email address and password and login to PgAdmin. Remember this that you have to setup your servers in web environment again because desktop and web PgAdmin modes are both different instances that is why you will not be able to see whatever changes you made in either mode.
Hope this blog will be helpful for you guys'.
Happy using PgAdmin and enjoy working with Postgresql.
Leave your comments and questions in comment section below, as your comments are most valuable for me. Thanks